
Are earbuds bad for your ears? That’s the question I’m going to be answering for you today! Firstly I’m going to explain if they’re bad and how bad they can be for your ears and then I’m going to give you 2 things you should focus on while using earbuds to prevent damage to your ears. Now I’m going to be talking about earbuds mostly, however it’s mostly the same for headphones. This isn’t any medical advice and if you’re having hearing problems then you should speak to your doctor about it. Also be sure to check out my blog post about the Jlab Go Air Pop Pro True Wireless Earbuds, if you’re looking for an affordable and good set of wireless earbuds.
nnnnSo I’ll first start with if earbuds are even bad for your ears at all, then I’m going to tell you about the 60-60 rule which a lot of people seem to recommend, and then how to use your earbuds safely to prevent hearing loss.
nnnnAre Earbuds Bad For Your Ears And How Much Can They Damage Your Ears?
nnnnnnnn
Now I know you’ve probably all heard that earbuds can be really bad for your ears, but you probably don’t know exactly how bad they can be if you overuse them. Did you know that 17% of kids or already suffering from some type of hearing problem? So here’s a list of what can happen if you over-use your earbuds.
nnnn- n
- Hearing loss nnnn
- Tinnitus (ringing in your ears that may never goes away) nnnn
- Ear infection nnnn
- NIHL (noise-induced hearing loss) nnnn
- Dizzines nnnn
- Effects on the brain nnnn
- Hyperacusis (reduced tolerants to sound) n
Now that doesn’t mean you should stop using your earbuds, it just means you have to be careful when using your earbuds. Now a way of being careful could be by using the 60-60 rule, so if you want to learn more about that then keep reading!
nnnn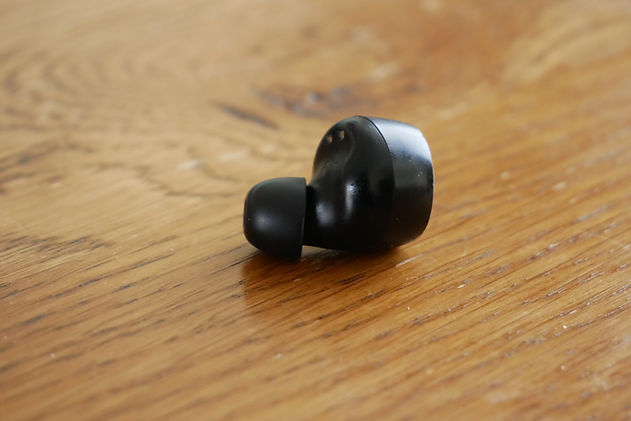
60-60 Rule
nnnnnnnn
Now you might have heard of the 60-60 rule before, but for anyone that hasn’t heard of it, it stands for listening 60 minutes (per day) at 60 percent volume. It’s a very conservative rule, so if you follow that rule you’re definitely safe. But you could probably do more than that without any issues so it’s not like you have to follow it or otherwise you’ll suffer from hearing loss. So for example for people who are using earbuds 24/7 because they work at home, if you listen at a quiet enough level you will be perfectly fine. However there isn’t really a clear number or percentage for this so just be careful, try to keep it as low as reasonably possible, and reduce the background noise as much as possible so you don’t have to turn them up. That is we’re noise cancelation can be really useful, noise cancelation is basically that it cancels the noise around you and this is useful so you don’t have to turn the volume up because of the noise outside.
nnnnnnnnHow To Use Your Earbuds Safelly
nnnnnnnn
Now using your earbuds safely is very easy, you just have to be careful. If you’re listening on high volume with your earbuds every day, then maybe just put the volume down a bit. 60% is recommended but it’s not like if you go over it a bit then you’ll suffer from ear damage but it’s a good percentage to kepp in mind. So here’s a list of things you can do to ensure that your ears are safe while listening with earbuds. Also make sure to clean your earbuds and ears, as it could lead to infections.
nnnnIf you’re looking for affordable but good-quality earbuds, then I’ve got just the blog post for you. I tell you all the details of the Jlab Go Air Pop Pro True Wireless Earbuds, after a year of daily use.
nnnnnnnn- n
- Not to long, listening routinelly for hours at a time at even a medium volume can lead to damage to your ears. However it’s possible to listen 24/7 without having damage but you will have to keep the volume as low as reasonably possible. nnnn
- Not above 60%, 60% is a good number to avoid going over however it doesn’t hurt to keep it at 40% if reasonably possible. nnnn
- Keep your ears and earbuds clean, keeping them clean is very important to avoid infecting your ear. nnnn
- Reduce background noise as much as possible, reducing the background noise will help so you don’t have to turn your earbuds up because it’s so loud outside. Noise cancelation is really handy for this. n