Categorie: Computing

  • Enhance Your PC’s Graphics Performance with an External GPU (eGPU)

    n

    Always wanted to play all the latest FPS games on your PC or laptop, but didn’t have a powerful enough GPU for it? Well, external GPUs or eGPUs might be the solution, but what are they and how do they work?
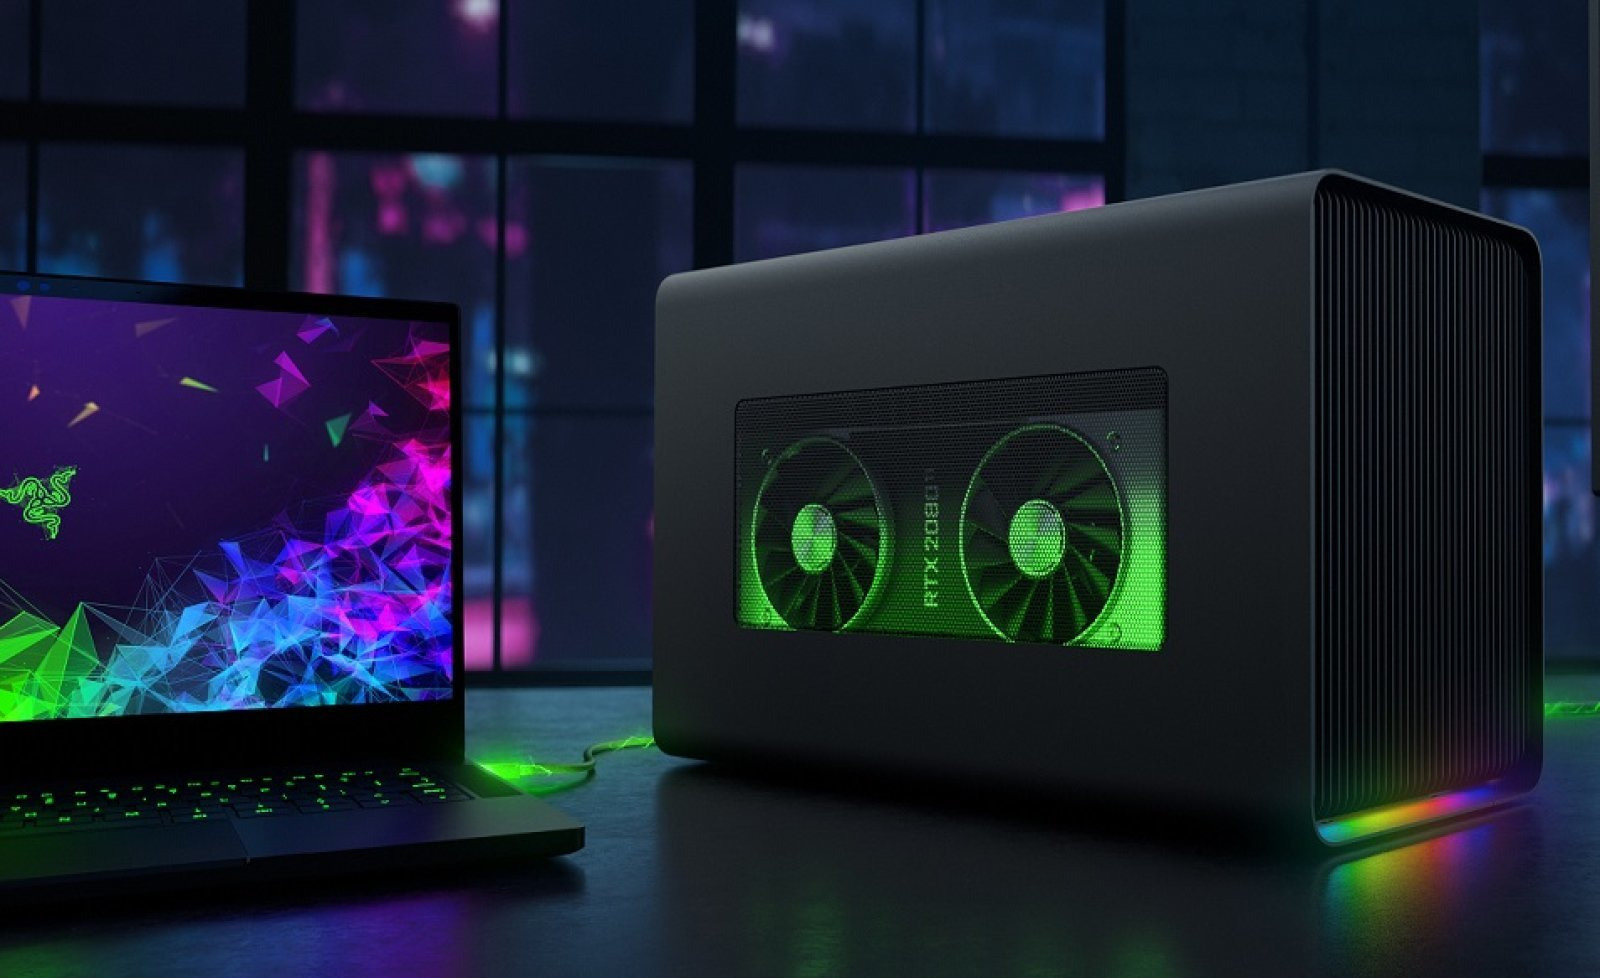
    nnnn

    An external GPU or eGPU for short is a device that allows you to connect a GPU externally to your PC, via Thunderbolt or USB-C. This will enhance your PC’s graphic performance, especially if your built-in GPU is not powerful enough. Some advantages of having an eGPU are: Future-Proofing: When your computer’s built-in graphics card becomes outdated, upgrading the eGPU is simple and doesn’t require replacing the entire system. Versatility: An eGPU can be used with multiple computers that have compatible ports, providing a flexible and convenient solution. Easy Installation: Setting up an eGPU is generally easy and requires minimal technical expertise. If you want to know more about these eGPUs, then keep reading because I’m going to tell you all about them.

    nnnnnnnn

    Why Woud I Need An External GPU or eGPU?

    nnnn
    nnnn

    An external GPU (eGPU) becomes essential when your computer’s internal graphics card struggles with demanding tasks such as gaming, virtual reality, or intensive software applications. By integrating an eGPU, you can significantly enhance your system’s graphics capabilities, resulting in smoother gameplay, faster rendering times, and overall improved performance.

    nnnn

    For gamers, an eGPU enables playing the latest AAA titles at higher settings with improved frame rates and enhanced visual effects. It ensures a more immersive gaming experience and reduces lag, particularly crucial for competitive gaming and virtual reality environments where responsiveness is paramount.

    nnnn

    Professionals in fields like graphic design, video editing, and 3D modeling benefit from an eGPU’s ability to accelerate rendering processes and handle complex graphical tasks more efficiently. This means reduced waiting times for rendering projects and increased productivity. Additionally, an eGPU future-proofs your setup by allowing easy upgrades as technology advances, ensuring your system remains capable of handling future software demands without the need for a complete system overhaul.

    nnnn

    Moreover, eGPUs offer versatility by being compatible with multiple computers, making them a cost-effective solution for enhancing graphics performance across different devices. Setting up an eGPU is straightforward, often requiring just a few simple steps with user-friendly interfaces and plug-and-play functionality. This ease of installation means you can quickly start enjoying enhanced graphics performance without extensive technical expertise, making eGPUs accessible and beneficial for a wide range of users.

    nnnn
    (Image credit: Amelia Holowaty Krales / The Verge)
    nnnnnnnn

    Are eGPU’s Compatible With Laptops?

    nnnn
    nnnn

    Now eGPUs are great and all, but are they also compatible with laptops? As with a laptop, you can’t quickly switch out parts and this could be very handy. So if your laptop is old and not able to play the newest AAA games then I have some good news for you. Because eGPUs are very compatible with laptops, all you need is a compatible Thunderbolt or USB-C port on your laptop. This allows you to boost your laptop’s graphic performance. Note that you will also need an external power supply to power the GPU, but as you only need to power the GPU you don’t need a big power supply so it won’t be that expensive. But it can be worth it, as it can make your computer up to 10x more capable of playing the latest AAA games even if you already have a pretty powerful laptop.
    So it’s worth looking into as it will improve the graphic performance of your laptop substantially and all you need is a USB-C/Thunderbolt port, a power supply, and a GPU. You probably won’t need a big power supply as it will only need to power the GPU, the amount of W can vary per GPU, and I would advise getting a good one with more than enough wattage for future proofing and just general stability of your GPU.

    nnnn
    (Image credit: NVIDIA)
    nnnnnnnn

    What Perfomance Boost Can You Expect?

    nnnn
    nnnn

    Overall, you’re going to get a huge performance boost if you get a good GPU. But even something like a RX 5600 XT, which you can get for only $179.99. Which is still not cheap, but it’s better than getting a whole new laptop for example. I did find some benchmarks for external GPU as shown below and as you can see there’s a major performance boost when using the eGPU. He is using the RTX 4070 which isn’t the cheapest GPU, but you can see that it’s already roughly 4x better than the laptop’s RTX 4060. This goes to show that even if you have a pretty good laptop, you can still get huge performance boosts when using an eGPU.

    nnnn
    (Image credit: Youtube/Home Cinema & Tech Reviews)
    nnnn

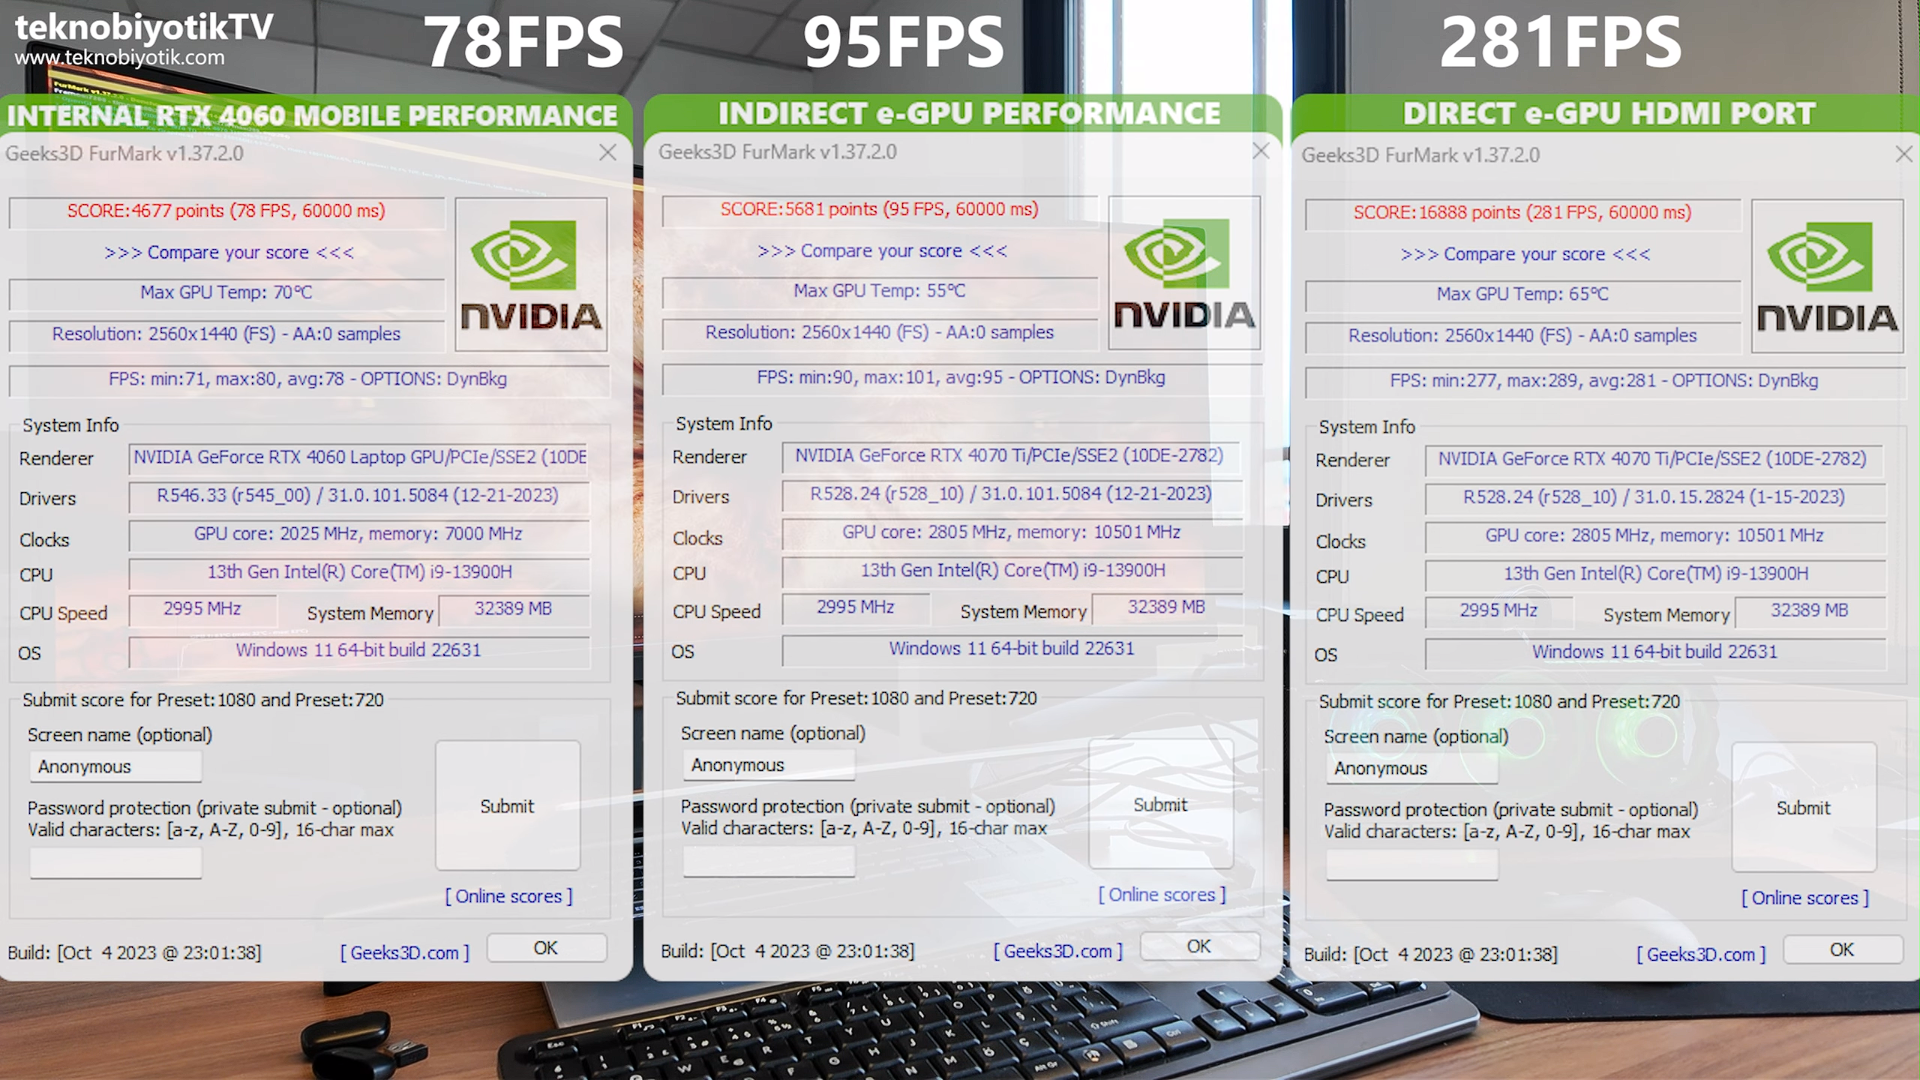
    But, eGPUs are still pretty expensive as you also have to buy a case that costs a minimum of $100 and you also still have to get the dedicated power supply for the eGPU. So all-in-all you’re probably looking at something like $400 minimum together. This is why it’s probably not worth it if you already have a pretty decent laptop and you’re happy with the performance that you’re getting from it, or if you’re not playing the latest & most demanding AAA games.

    nnnnnnnn

    My eGPU Recommendations

    nnnn
    nnnn
    GPU recommendationsnn
    nnnn
    eGPU case recommendationsnn
    nnnn
    power supply recommendationsnn
    nnnnnnnn

    Downsides eGPU

    nnnn
    nnnn

    eGPUs are great, but there are a few things worth mentioning when it comes to their downsides. So I created a list of the 4 most important downsides of an eGPU.

    nnnn
      n
    • eGPUs are expensive, as I mentioned before. eGPUs can start at a minimum of around $400 so they’re not cheap
    • nnnn
    • Technical Limits and Performance Problems, despite improvements, eGPUs have limitations. Thunderbolt 3 is slower than direct PCIe connections, causing bottlenecks and less performance. So, eGPUs might not always give the expected boost, especially in high-end gaming and professional use.
    • nnnn
    • Compatibility and Ease of Use, eGPUs often need specific hardware and software setups to work well, leading to compatibility issues. These challenges, along with the extra setup and maintenance, can affect the user experience.
    • n
    nnnn

    Conclusion

    nnnn
    nnnn

    In conclusion, eGPUs can be a great way to enhance your current laptop’s graphic performance, but it does come at a pretty steep price. So if you already have a pretty good laptop and you’re happy with its performance or you’re not playing the latest & most demanding AAA games, then I would stick with what you currently have as it’s probably not worth it. Considering that for a decent eGPU setup, you’re already paying a minimum of $400, I would consider if you need this or not, or you can even get a brand new laptop for that price.

    nnnn
    (Source: https://www.videoaktiv.de/2019111121731/news/editing/aorus-rtx-2080-ti-gaming-box-erstes-egpu-gehause-mit-rtx-2080-ti.html)
    nnnn

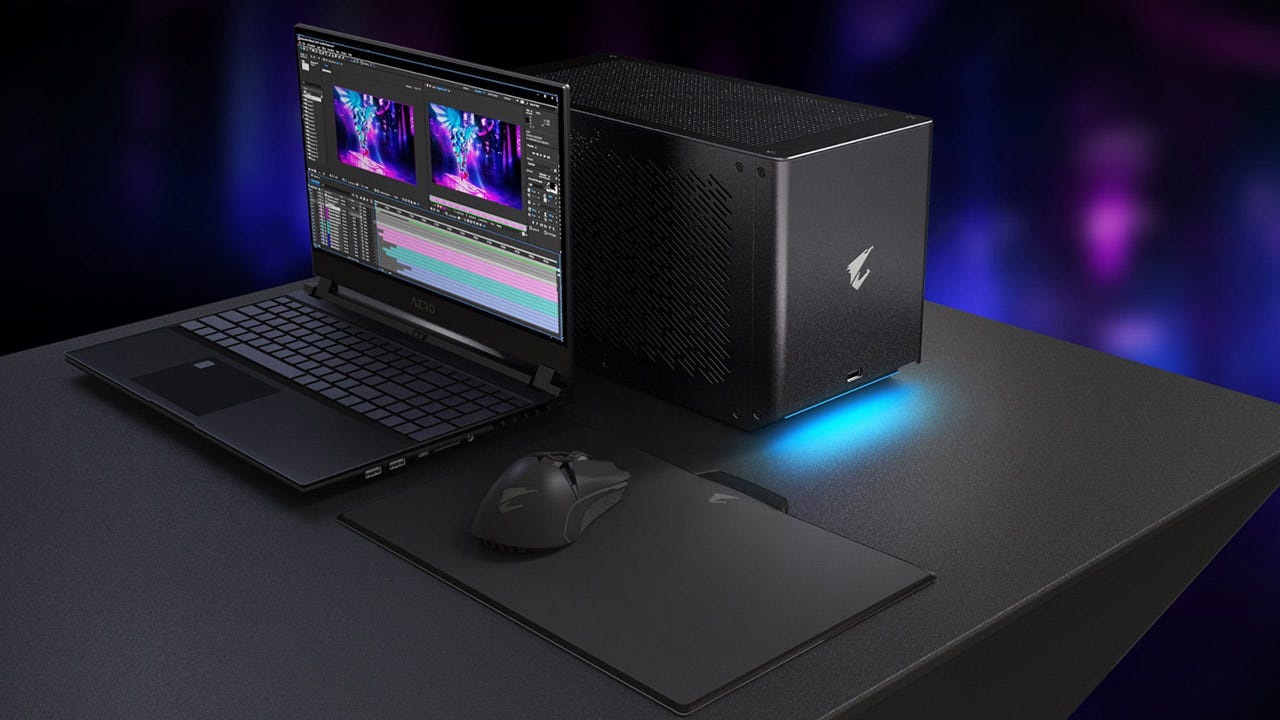
    I hope this blog post helped you with understanding what a external GPU (eGPU) is and if you should get one, and be shure to check out some of my other blog posts.

    n
  • Easy CPU Installation Guide: Step-by-Step Tutorial

    n

    Installing your CPU or Central Processing Unit might seem daunting at first. But in this post, I’m going to show you that it’s simple. Everything you need to install your CPU includes: a screwdriver, thermal paste, and of course a motherboard to install it in, thermal paste is to keep your CPU cool and you can find it on Amazon for pretty cheap. I would also strongly recommend getting a cooler, this is most of the time included with your CPU but if it isn’t you should get one. CPU coolers come in all shapes and sizes, but if you have a normal processor the stock cooler will do just fine. Do know that if you’re getting a stock cooler you have to get it from the right brand, if you have an AMD processor then you should get an AMD cooler and if you have an Intel processor then you should get an Intel cooler.

    nnnn

    So in this post, I’ll explain how to install your CPU in only 5 simple steps, and all you need is a screwdriver and some thermal paste. The process of installing your CPU will also depend on what brand of CPU you’re using. So first I’m going to explain how to install your AMD CPU and then I’ll tell you how to install your Intel CPU. Then I’ll show you how to install the stock cooler as it’s pretty similar for both AMD and Intel

    nnnnnnnn

    How To Instal An AMD CPU

    nnnn
    nnnn

    I’m going to explain how to install your AMD CPU in only 5 steps, and I’m going to try to keep it as simple as possible.

    nnnnnnnn
      n
    1. Get the socket ready.
    2. n
    nnnn

    Start by putting the retention arm on your CPU socket up by gently pressing it to the side and then up, as shown in the picture below.

    nnnn
    how to open up CPU socket
    Image credit: Asus
    nnnn

    2. Putting the CPU in it’s socket.

    nnnn

    Gently put the CPU in the socket by letting it fall in the holes, you should see a golden arrow in one of the corners of the CPU make sure that it’s pointing in the same direction as the arrow on the socket. Note that you shouldn’t be using any force to do so and give it a gentle little wiggle once it is in to confirm the CPU is fully seated in its socket. Also, make sure to not touch any of the pins as they’re quite fragile. If it isn’t going in try repositioning it a couple of times and it should just fall in, as shown in the picture below.

    nnnn
    how to install AMD cpu
    (Image credit: Tom’s Hardware)
    nnnn

    3. Fully installing the CPU.

    nnnn

    Put the retention arm down again and you’ve succesfully installed your CPU!

    nnnn
    how to secure CPU
    (Image credit: ifitjams)
    nnnnnnnn

    How To Install An Intel CPU

    nnnn
    nnnn

    Installing an Intel CPU might seem similar but there are a few things you have to do differently than with an AMD CPU.

    nnnnnnnn
      n
    1. Get the socket ready.
    2. n
    nnnn

    Getting the socket ready is the same process as with the AMD socket, start by putting the retention arm on your CPU socket up by gently pressing it to the side and then up, as shown in the picture below. Now you will also have to flip the load plate up, the load plate will be unlocked once you have put the retention arm up. Also, make sure to not touch the pins once they’ve been exposed as they can be quite fragile.

    nnnn
    how to open up CPU socket
    (Image credit: Asus)
    nnnn

    2. Putting the CPU in it’s socket.

    nnnn

    Putting the CPU in its socket is a bit different with Intel as the pins aren’t on the CPU but on the socket. Again be sure to not touch the bottom of the CPU, because your fingers can get oils or residue in there which isn’t what you want. Now as with the AMD CPU, there will be a golden arrow and another arrow printed on the loadplate and they should be pointing in the same direction. You want to go straight down and gently put it in its socket, be sure not to use any force or try and press it in as the CPU should just fall straight into the socket and give a gentle little wiggle to confirm it’s fully in.

    nnnn
    how to install Intel CPU
    (Image credit: 173.rtaf.mi)
    nnnn

    3. Fully installing the CPU.

    nnnn

    Now if the CPU is fully seated you can put the loadplate back down over the CPU, and if you have a black protective cover on your loadplate it should just pop straight off. Then proceed to put the retention arm back down to its original spot, so fully down and beneath that notch. And that’s it, well done!

    nnnn
    How to secure Intel CPU
    (Image credit: XDA)
    nnnnnnnn

    How To Install The Stock Cooler

    nnnn
    nnnn

    Installing your CPU stock cooler is going to be pretty much the same on AMD and Intel, so I’m going to just make 1 guide for this. All you will need to install your CPU’s stock cooler is some thermal paste (which might already be pre-installed on your stock cooler) and a screwdriver.

    nnnnnnnn
      n
    1. Applying some thermal paste.
    2. n
    nnnn

    Applying thermal paste is very important to ensure that your CPU isn’t overheating and that it’s working at its maximum potential. Applying the thermal paste is easy, note that if you bought a new CPU then there should already be thermal past pre-applied on the stock cooler. There are multiple ways of putting on thermal paste, my favorite is putting a dot of it on your CPU and it should automatically spread out if you have a spatula for your thermal paste which looks like this, you should spread it out with that and make sure everything is covered with a thin layer of thermal paste.

    nnnn
    how to apply thermal paste
    (Image credit: coolingmonster)
    nnnn

    2. Putting the cooler on the CPU

    nnnn

    Now putting the cooler on the CPU might look complicated but it’s easy, all you need is a screwdriver. Firstly you want to locate the designated holes for the cooler on the motherboard, these will often be pretty big holes in all 4 corners around the CPU. Then you have to put the cooler on and screw it in, it’s that simple! You should do this in one go so the thermal paste stays intact so make sure you’re being careful when installing the cooler.

    nnnn
    how to screw in stock cooler
    (Image credit: XDA)
    nnnn

    3. Connecting the cooler to the motherboard.

    nnnn

    Now for our last step, plugging the cooler into the motherboard. This is probably the easiest to do so I’ll make this nice and short. Locate the cable of your stock cooler, typically a black cable coming from the top (so where the logo is). Then you want to find the PWM header on the motherboard, this can be anywhere from the top to the sides of your motherboards but should say CPU_FAN above it. Plug it in and you should be good to go!

    nnnn
    how to find PWM header on motherboard
    n